I have been thinking about some posts on camouflaging the head area. These will have to wait until I scan a relevant image. As an offshoot of this research I have been thinking about the issue of camouflaging the eye area.
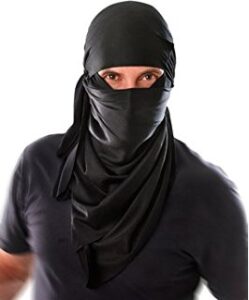
Below we have an image of the popular conception of a ninja. In reality the items used to cover the face and hair might not be black. The “letterbox” for the eyes is very noticeable. Wearing a ski-mask type hood is not much better since this creates a pair of circles and the brain is wired to look for eyes.
One solution is to camouflage the area around the eyes with facepaint. The disadvantage of this is makeup is not as easily removed as clothing. That is a problem if the operative wants to disappear back into the local population.
Modern fighters often wear goggles. Some of us wear spectacles. These are reflective and thus difficult to camouflage. Some tactical googles are made with black frames rather than more useful colours such as tan.
Part of the solution is to wear a hat with a brim. This casts a shadow over the eye region and reduces the change of reflections. A headnet or mosquito net that covers the face can also be used.
A third solution is to construct an overvisor. Acquire a rectangle of mesh material of either metal or plastic. It should be lightweight but capable of holding a shape. Bend it into an arc so that it covers the “letterbox”. The brain is attuned to picking out eye-like objects, particularly when they are in pairs. The rectangular shape of the overvisor hides the familiar shapes of eyes or glasses. Two of the photos below show snow goggles improvised with a similar method.
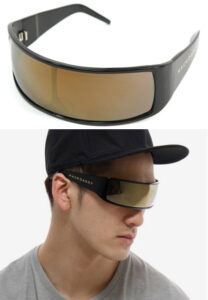
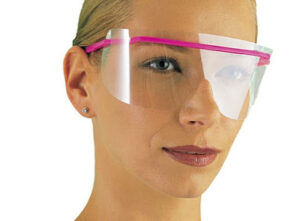

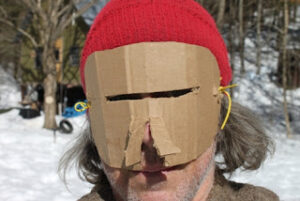
Buy a can of cheap black acrylic spraypaint from the hardware store and use it to undercoat both sides of the mesh. Leave the undercoat to dry. For the next step you will take a pot of acrylic model paint. Tamiya “Dark Yellow” or “Desert Yellow” are good shades. Take a piece of tissue or foam, dip it in the paint and wipe off the excess so the sponge is just damp. Wipe the paint onto the outside surface of the mesh. If you have some experience with drybrushing you can use this technique instead.
You now have a rectangular visor that is black on the inside and sand-coloured on the outside. If any of the “outside” colour is visible on the inside brush over it with black. The inner side of the visor needs to be black since this lets you see through it more easily. It should work rather like a fencing mask or mosquito headnet. This, incidentally, is why headnets are always dark, despite mosquitos being supposedly attracted to dark colours. A net of a more reflective colour will be difficult to see through. The goggles shown below have the right idea but the wrong colour.
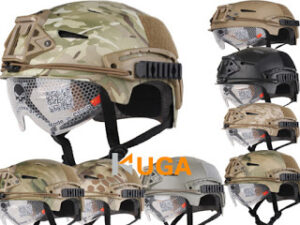
You will probably want to further camouflage the outside of your overvisor. The trick here is not to overdo it. The main objective is to break up the regular rectangular shape. You probably only need one additional colour as long as it contrasts with the sand colour. Olive drab, darkish grey or a middle/dark brown are good choices. Make the blobs one to two inches across and at least half an inch between them. A winter version might be all white or use white with grey or dull green.
A fringe of suitably coloured frayed cloth can be fastened to the lower edge of the overvisor to help conceal the nose and mouth.
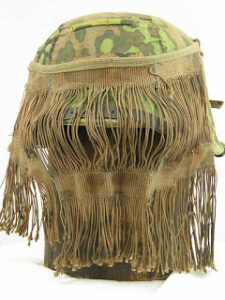
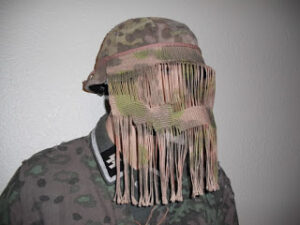
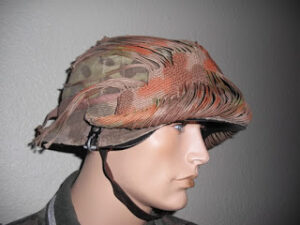
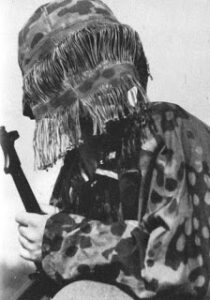
How you wear the overvisor will depend on how you wear it. If you wear it on its own you may simply cut a notch for your nose and add some elastic. Parts of cheap sunglasses may be utilised but some form of retaining band is recommended. If you wear the overvisor over googles or spectacles you may want some mechanism to attach them directly, or attach it to your headgear. Whatever option you choose make sure that the overvisor is easily removable. The overvisor acts a bit like a sunshade so at night or in low light conditions you may have insufficient visibility.