There are literally hundreds of books and websites telling you how to put together a 72 hour kit/Bug-Out Bag (BOB).
Generally I have tried to address less common topics.
Having recently seen just how bad some of these BOB suggestions are, I now feel inclined to share some thoughts and suggestions on a few topics.
If you are putting together a Bug-Out Bag (BOB) I suggest you first have a read of Robert DePugh’s observations on food and gear.
Then have a browse of Kephart’s Summer and Autumn Outfits. Several chapters of Kephart’s book are well worth a read before progressing.
Kephart’s mentor Nessmuk has several passages that provide further insight of what could be achieved more than a century ago:
"Fine woolen cassimere of medium thickness for coat, vest and pantaloons, with no cotton lining. Color, slate gray or deadleaf (either is good). Two soft, thick woolen shirts; two pairs of fine, but substantial, woolen drawers; two pairs of strong woolen socks or stockings; these are what you need, and all you need in the way of clothing for the woods, excepting hat and boots, or gaiters."
"My own load, including canoe, extra clothing, blanketbag, two days’ rations, pocketaxe, rod and knapsack, never exceeded 26 pounds; and I went prepared to camp out any and every night." [Including canoe!]
"I made calculations on losing the trail the first day, and being out a full week. The outfit consisted of rifle, hatchet, compass, blanketbag, knapsack and knife. For rations, one loaf of bread, two quarts of meal, two pounds of pork, one pound of sugar, with tea, salt, etc., and a supply of jerked venison. One tin dish, twelve rounds of ammunition, and the bulletmolds, filled the list, and did not make a heavy load."
AFM 64-5 (1952) advises:
Don't overload; a 25-30 pound sack should carry all you need except in the Arctic in winter. Try to carry as many of the following items as possible: matches or lighter, candle, compass, necessary maps, airplane first-aid kit, notebook and pencil — all in waterproof containers — machete or stout knife, water, food, signal mirror, sunglasses, watch, small bottle of gasoline, gun and ammunition, wire or shroud lines, extra socks.
Arctic: In the winter, in addition to the essentials recommended above, carry a sleeping bag, parka, mittens, snowshoes, or skis, and mukluks. In summer don't forget mosquito netting and repellent, extra clothing (socks especially) and shoepacs. Wear sunglasses when sun is high on snow surface. Keep feet dry, summer and winter.
Desert: Water is the most important factor in desert survival. Carry along all you can — even at the expense of leaving behind some food and other equipment. Take along a piece of parachute to serve as a sunshade during the day; carry some extra clothing for the cold nights.
Tropics: The most useful aids to travel in the tropics are a machete, to help cut your way, find food, make a raft; a compass, for maintaining direction; a first aid kit, to keep you going in the face of fever and the risk of infection; stout shoes, that will save your feet and enable you to walk out; and a hammock.
Greenbank also recommends a 30 lb load, although he may have been influenced by AFM 64-5.
The US DOD definition of “manportable” is that an item is less than 14 kg/31 lbs. Of course, many soldiers get lumbered with several “manportable” items along with a heap of other gear!
Your bag may be heavier than this, but it is a good target to aim for.
How to pack a rucksack I have described previously. Ideally, you want a large pack, packed light. The sleeping kit suggested below is bulky, but relatively light. The mass of denser items carried above it helps compress it.
I will work on the common premise that a bug-out-bag is designed to keep you going for 72 hours until you reach safety or an emergency response has been organized.
I will limit myself to bag contents for this page. Elsewhere I have discussed what to have with your bag.
Sleeping and Shelter
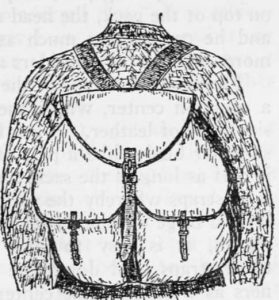
The basic essentials for living on the move are boots, bedding, shelter and bag.
A good pair of boots are a prudent addition to anyone's wardrobe.
If you do not already have a rucksack you intend to use, it may be prudent to assemble your sleeping and shelter gear before you purchase your rucksack.
Your goal is a roomy pack, lightly packed.
How much room your sleeping and shelter gear takes up, and how you carry it will influence how much other stuff you take with you.
I hear of soldiers and some outdoor types omitting their sleeping gear and resigning themselves to being uncomfortable and having a bad night's sleep. This is not really advisable.
We spend at least a third of our time sleeping. Not getting a good sleep may very adversely affect our performance when awake. You may need to be at your best!
Poncho Liner or Blanket
At the very minimum, you will need a blanket or poncho-liner. These may also serve as a warm garment, and may be modified to better serve in this role.
A blanket or poncho-liner may be combined with other sleeping items for additional warmth.
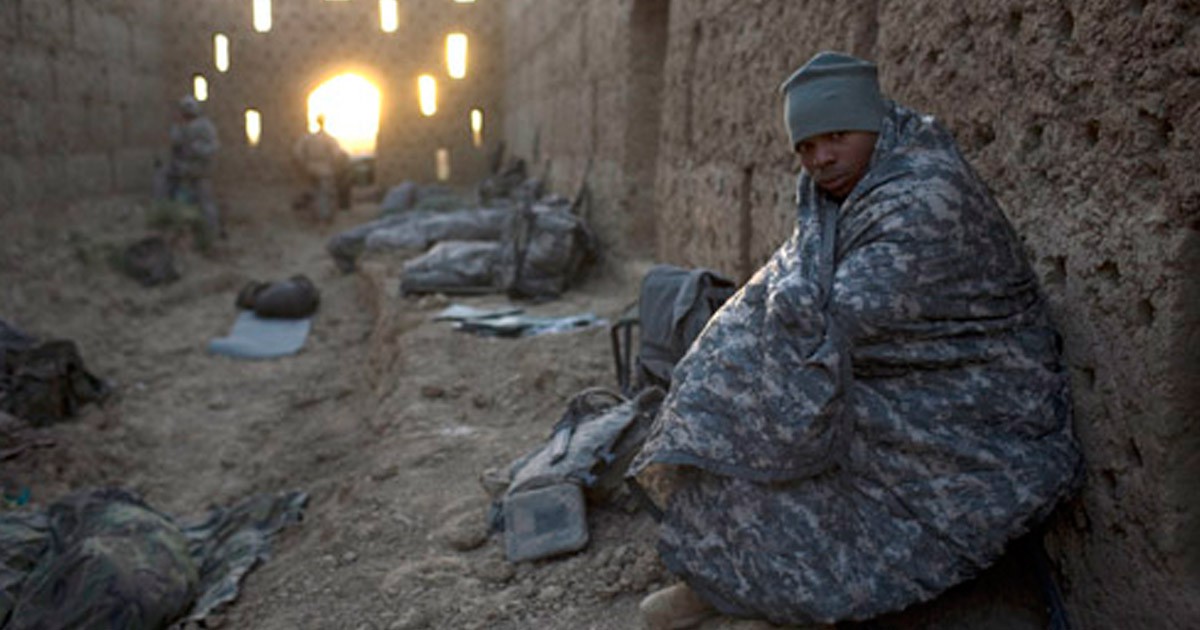
In a tactical scenario a blanket or poncho-liner will keep you warm but may be immediately discarded if necessary.
Many soldiers who “rough-it” could have simply thrown a ponch-liner over themselves.
This conjures up a nice image of the first sergeant doing his rounds and tucking in exhausted grunts. Aww!
Sleeping Bags
Unless you live in the tropics, you will need to have a 1 to 2 or 2-season sleeping bag and a 2 to 3 or 3-season bag for colder conditions. Select which best suits the anticipated conditions.
Which to buy first? Let the current season be your guide.
When it is colder, the bags may be used in combination with each other, and/or with the poncho-liner/blanket.

If you want your BOB ready to go at a moment’s notice, have the sleeping bag appropriate for the current season packed in your rucksack while the other “rests” uncompressed. This will prolong the life and performance of your bags.
Supposably, down bags pack smaller and are more tolerant of being compressed for long periods of time.
If you live where it is more often wet than cold, a synthetic bag may be a better choice.
Select according to your budget and local conditions.
A sleeping bag liner keeps your bedding cleaner. There are silk and fleece versions that may increase the temperature range of your sleeping system.
Your sleeping kit should also include a pair of sandbags or similar. If you have to sleep in your boots, cover your boots with the sandbags.
Have a woolly hat or headover to serve as a nightcap.
Kip Mats
The ground will probably be cold and wet at night. A kip mat costs little and will make a big difference to your comfort.
There are alternatives such as self-inflating mattresses. It is debatable if the expense is justified if the item is permanently to be kept in a BOB.
A rolled kip mat does not need heavy duty straps. I used a couple of polyester ribbons and buckles for one of mine. If you know your basic knots as you should, you can use a length of cord. The cord may be put to other purposes while the mat is in use.
Kip mats are often rolled and carried strapped to the outside of a bag. Unless kept in a camouflage sack, they compromise your camouflage.
They are also somewhat vulnerable in this position. Many soldiers do not bother carrying them since they are likely to be ripped away while the rucksack is hung on the outside of a vehicle.
A rucksack that is large enough to accommodate a foldied kip mat is obviously an advantage. The mat provides additional padding against the back.
If you do lose your kip mat, try stuffing a bin-bag full of leaves or similar. Your rucksack should have half a dozen large bin-bags. They have numerous uses.
Bivi-Bags
Bivi-bags seem to get much less attention than they used to.
A bivi-bag will keep you dry and a little warmer when it is not possible to rig a shelter. The variants with a lengthwise opening are probably a little easier to exit in a hurry. For the same reasons, I do not recommend “hooped bivis”, which are actually tube tents.
When on the move, stick the bivi-bag in the bottom of your rucksack and cram your sleeping bag(s) into it.
Most bivi-bags are green or green dominant camouflages. They seem to spend a lot of this time on brown forest floors!
Poncho/Basha
When practical, you can use your bivi-bag in combination with a poncho or basha.


This keeps the rain from pooling on your bivi-bag and gives you some shelter when dressing or cooking.
You will also need pegs, some cordage and/or bungees. If it is really windy, you may need to peg down your kip mat and/or bivi-bag, so have enough pegs.
You will need some support poles for when Mother Nature neglects to provide conveniently located trees.
In the desert, or very cold conditions, use a double canopy above you for added insulation. A space blanket, spare poncho etc may be used.
Hammocks
If your evacuation will take you through jungle or wooded areas, a lightweight hammock may prove handy.
In some conditions, sleeping in hammocks may be too cold if air is allowed to circulate under them.
Potentially, a net hammock can be used to fish, although the holes are on the large side in many examples I have seen.
Nets may also be used to catch rabbits if you can “smoke” them out of their warrens.
Twisted, a hammock may serve as an emergency rope.
Locations where you might use a hammock often also require mosquito netting. Biting insects can be a concern in colder latitudes too, however.
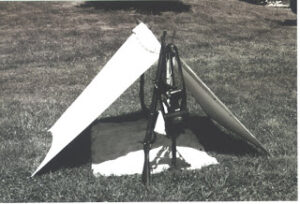
Tents
A poncho shelter gives you good situational awareness, which is prudent if bad people might try and take your stuff or do stuff to you. Emergencies are likely to bring out both the best and worst of humanity!
In some climates or seasons a tent is necessary.
Single person tents tend to be cramped, so you will probably end up rigging a poncho shelter in addition.
Crawling in and out of a small tent can be a slow process. If you need to exit a bivi-bag quickly, stand up and let it drop.
“One Plus One” tents are designed to be roomier for a solo traveller, yet can accommodate two people if they get on well.
If you intend to bug-out as part of a group, two-person tents may be warranted.
Dividing the components of a tent between two people is generally not a good idea. If a pair are separated neither has a complete shelter.

The exception to this are tents made from military shelter halves. Each half may be used as a lean-to.
One person should carry the full two-person tent while the other carries individual emergency shelter items. The tent carrier’s load may be lightened by their partner carrying a greater proportion of the food or water.