About 20 to 25 minutes into the movie “The Omega Man”, the protagonist (Dr. Neville aka Charlton Heston) is seen searching for the mutant nest.
He apparently combines this activity with his cardiovascular exercise, so we see him with both a tracksuit and a submachine gun.
This allows him to move fast and light, with significant firepower to draw on. I have seen much less practical loadouts for a reconnaissance mission!
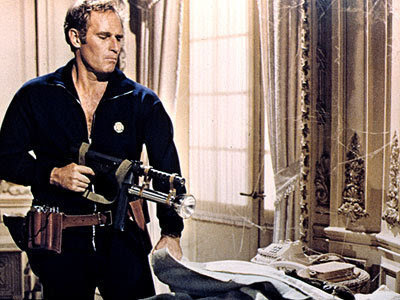
Neville wears a belt carrying his iconic flashlight, additional magazines, and a tape-recorder (for exposition purposes). Also on his person he carries a map.
What else he carries on this belt is hard to make out in this sequence.
There may be a holstered handgun.
No sign of a water bottle, although this would be a logical thing to have for “reconnaissance jogging”, as would some binoculars/field glasses.
Watching the movie a few months ago, I fancied I caught a glimpse of a knife on the belt, possibly a Ka-Bar. Rewatching the scenes, I am not so sure. A knife would, however, be a logical thing to take with you on such a mission, and operating as Neville does, you would not want anything too heavy or two bulky.
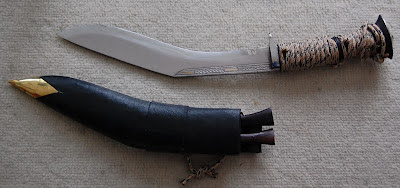
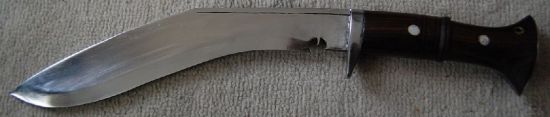
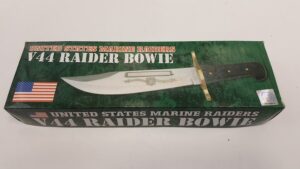
Bulk is always something to consider when selecting equipment. If I was planning to travel light, would I trade my kukri for a Ka-Bar or my Buck 119?
On the scales, the kukri is heavier. On the belt, the difference in length, bulk and mass seems less significant. It is the hilt you notice most, and that of all these examples is similar in size. And the ten inch kukri is a far better choice for, say, chopping through a door than a six or seven inch bowie blade.
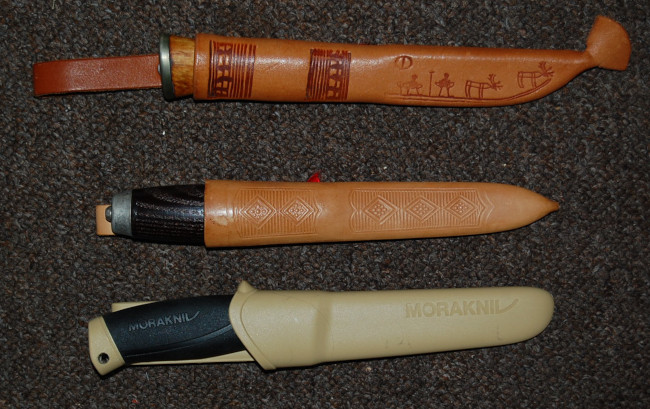
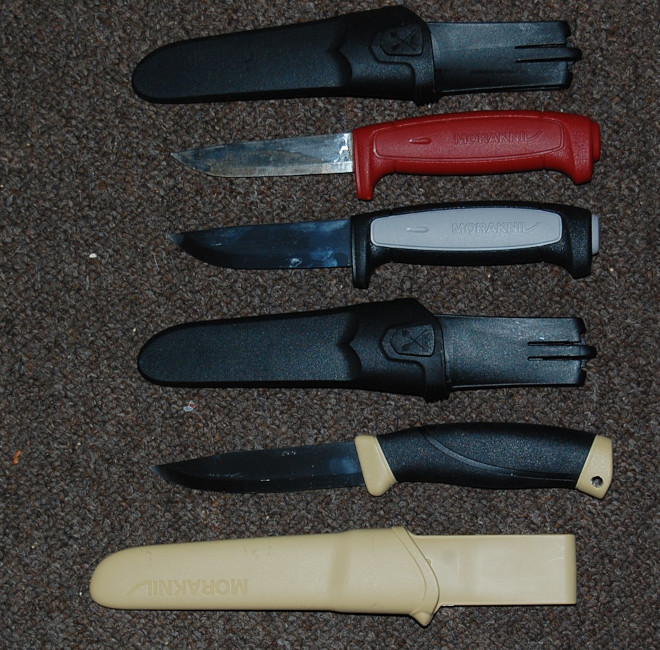
This line of thought got me thinking about what I might carry if for some reason I was not carrying the Scrapboard Survivor. I realized that many of the “other” fixed blade knives I owned would also probably be too bulky for many such scenarios. In many cases, the limiting factor was the handle.
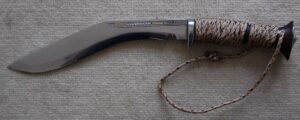
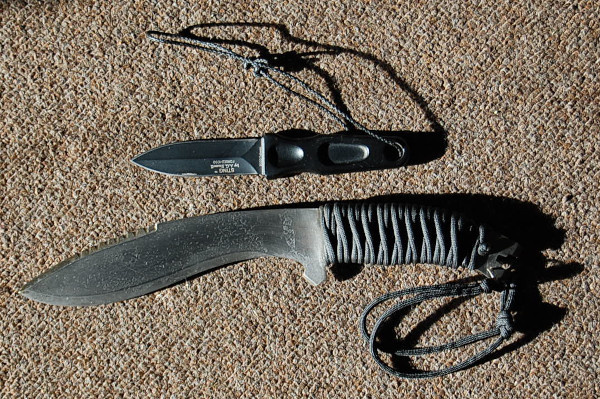
In contrast to most of these knives, I remembered that when I was visiting some friends on the West Coast, I had treated myself to a Hibben throwing knife.
Like most throwing knives, the grip section is of similar thickness to the blade so as not to offer too much aerodynamic resistance.
Unusually for a throwing knife, this model came with a nylon belt sheath and the grip section was wrapped in polyester thread.
It was quite possible (and not unknown) for me to take a nap and remain perfectly comfortable while still wearing that knife. Not a property that many of my other knives had!
So, I have been thinking about knives with low-bulk grips.
A notable example was the Buckmaster LT/Buck model 185. This was the Buckmaster blade fitted with a flatter grip rather than the then obligatory cylindrical hollow-handle of most survival designs.
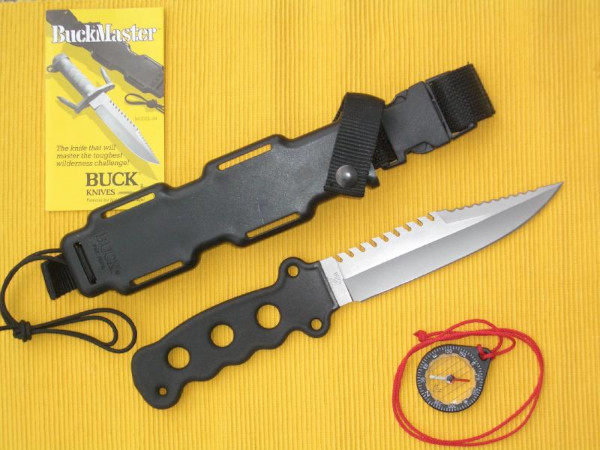
I like that the LT used a plastic coating on the grip. I once (unintentionally!) sawed through a live electrical circuit and was very grateful the saw I was using was the only brand of Gigli saw with insulating plastic tubing over the end loops. Although that incident involved a saw, since that lucky escape, the conductivity of tool handles has been a consideration for me.
Bare metal handles are not much fun in sub-zero conditions either, particularly if you do not have time to put on your gloves when you need the tool in a hurry.
On the downside side, the shape of the Buckmaster LT grip and guard looked pretty dorky.
I am wary of pronounced finger grooves. They are as likely to not suit your hand as they are. A grip that may fit your hand perfectly may not if you put on gloves.
The Buckmaster LT is no longer in production, and I am not aware of anything similar on offer.
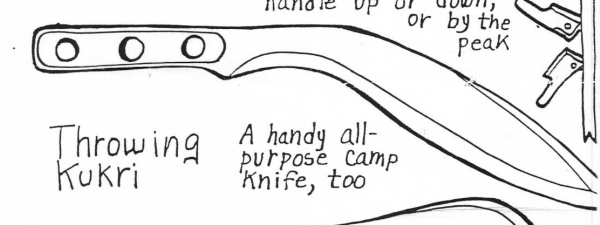
My friend Ed once sent me sketches of a “throwing kukri” which had a simple flat grip. He suggested it might actually be a fairly useful lightweight camp tool too.
Closest I have to this is a flat version of the Alphamega knife, a gift from a friend.
Alphamega were based on a knife I saw in a Macedonian museum, itself probably influenced by the Greek kopis, so this resembles a small kukri to many people, although the blade is actually straighter. This Alphamega is, however, a one of a kind. The Alphamega will be discussed further in a later blog.
It is debatable as to how much need there is for a seven to twelve inch blade with a flat, low profile grip. Such blades may be put to heavy uses, and such a grip configuration may be hard on the hands.
Boot Knives
A field where flatter grip designs would be more welcome would be for boot knives.
Flatter grips would make them more concealable, which is a priority for this category of knife.
There are some boot knife designs with skeletonized handles. Some of these look to be a little too narrow to give a good grip, or are fitted with deep finger grooves that may, or may not suit your fingers.
It would be nice to see some of the other models of boot knife offered with the option of covered but low-bulk grips. If a flatter grip needs to be wider to fill the hand better, so be it.
Comfort and concealability should be priorities.
Quillons should be no more than is needed to keep the fingers off the edge. .
A friend had asked me for some thoughts on boot knives:
Shape-wise, the hilt of the AG Russel Sting is hard to beat. Very comfortable and practical, yet only 0.36" in thickness. (figures from a website, I haven’t measured my own example).
The blade and hilt of the Sting is made from a single piece of steel. It is obviously possible that blade and tang be constructed from a thinner piece of steel and thin scales of some other material then added. This would allow for a greater variety, and improve thermal and electrical insulation.
Decades back, I sketched some designs for a range of boot knife type knives with ring pommels. I figured this feature might assist in drawing the knives from concealed positions.
I have cooled to that feature, thinking a more solid pommel may be more practical. I do regard a cord channel in the butt of a boot knife and essential, however.
A short loop of cord can assist in drawing the knife. Once drawn, the same loop may aid knife retention. About 40 cm tied into an 18 cm loop is good for my skinny hands. If you have big paws, start with a longer piece.
I would also like to see such boot knives offered in a choice of blade lengths and styles.
If I have one criticism of the Sting, it would be that there is not a commonly available variant with a longer blade available.
I rather like the one and a half edge/M3-style of my Smith & Wesson SW820 boot knife, and this configuration makes good business sense, allowing sales in backward places that consider double-edged blades to be “evil”.
A tanto- or modified tanto-style blade would doubtless appeal to many buyers. A kanmuri-otoshi or kissaki-moroha style might prove to be both versatile and practical.
Some users would probably prefer a clip-point or sabre-point utility-orientated blade instead. A low profile, Mora-style bladed boot knife sounds like a very useful option.
Mora and puukkot blades are available as unhilted “blanks”, although these sometimes cost more than a finished knife! Adding your own thinner grip to one is a feasible home project.
Other Knives
Boot knives are not the only knives that it would be desirable to see in flatter, low-bulk options. We have already touched on the subject of thinner field and utility knives.

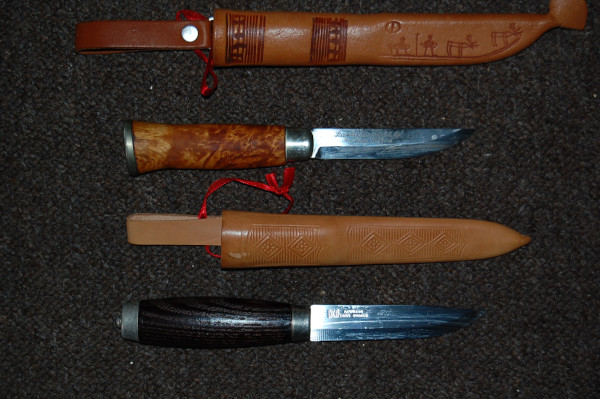
The picture above shows a pair of CRKT Stiff KISS knives, along with a neck knife and A.G. Russel Sting copy (for scale) by the same company.
The Stiff KISSes were a useful low-bulk fixed blade. Typically, they are no longer in production! The point of the drop-point (“MDP”) was a little too acute to my mind. A point with more belly would have been more versatile. Similarly, the tanto's point could have been less angular.
My main purpose for showing these Stiff KISSes is they illustrate two ways a bare tang design may be modified.
The tanto has a wrap of black kangaroo leather (given to me by whip-maker Joe Strain).
The MDP has scales of teakwood added (admittedly due for a clean and oil). The scales are deliberately different, the one on the private side being thinner and flatter than the public side scale.
I have seen it suggested that the narrow hilt of the bare model, with a finger notch rather than a guard, is not ideal for “serious” use, which is probably a fair comment.
The MDP or tanto easily fits in the thigh pocket of cargo trousers. This allowed me to have a useful fixed blade available while camping at a crowded “civilized” site.
Pec-Knives
The Gerber Strongarm was not the first knife I brought as a pec-knife!
Those of you who have read “Survival Weapons” will know that my first pec-knife was a Mantis MF-1. Appropriately for its more general role, this is a thicker and larger knife than a typical boot knife. It is still a good choice.
The Gerber is good for overt wear. If concealment is more of an issue, I might be inclined to carry the flatter MF-1 instead.
Even without a cord-wrap, the grip is quite hand filling. The knife was “engineered for use with paracord wrap”. Without a wrap, the balance point is a bit more forward, although this has little practical effect.
As may be seen, my MF-1 has a wrap of paracord. If bulk was more of an issue, a wrap of tape could be used instead. Alternatively, a thin pair of wooden, plywood or plastic scales could be constructed and bolted together over the tang.
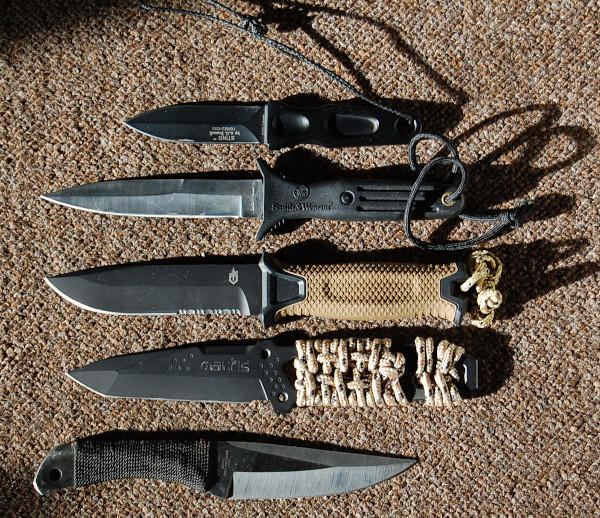
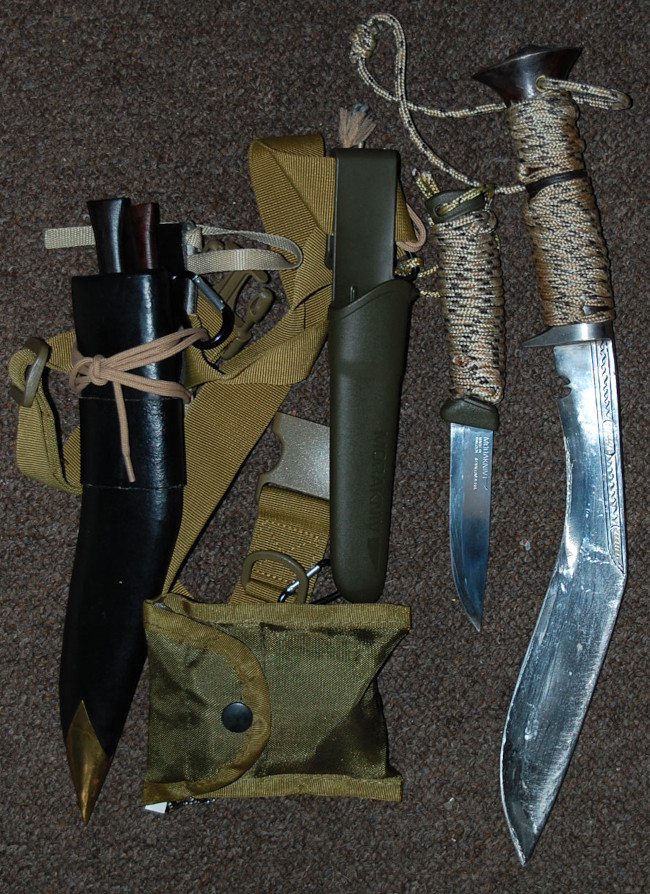
Photo above: CRKT/A.G.Russel Sting, SW820, Gerber Strongarm, Mantis MF-1, Gil HIbben throwing knife. Note how the Gerber and Mantis have much wider and thicker blades than the boot knives.
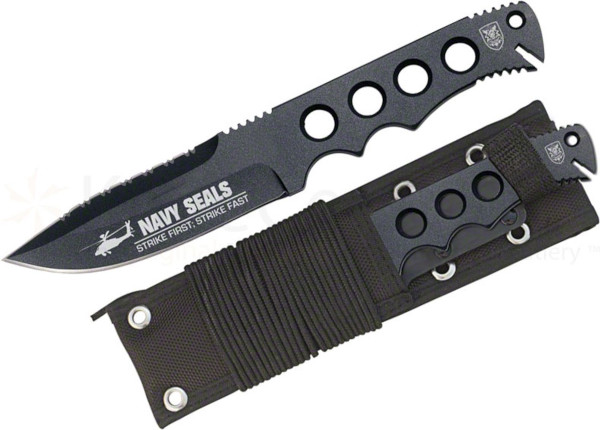
Another potential low bulk utility knife was the United Cutlery S.O.A. Navy SEAL knife. (If you can find one! All my searches today are giving “out of stock” and “discontinued” messages).
I am kicking myself that I never got around to getting one of these! When I first saw the design I assumed a ridiculously high price tag. Quite the opposite, in fact!
The “BlackField Integral pocket knife” appears to be a copy with an increased price tag. Steel is listed as “440” rather the AUS-6 of the UC version
Something like the Mantis MF-1 or UC SEAL might be the sort of low-bulk, lightweight, versatile knife suitable for the Omega Man’s jogging kit.