When I wrote “Survival Weapons”, the concept was to optimize what firearms one spent their hard-earned money on.
There were also several knife related chapters in the book, but I did not apply the same approach to these. Instead I gave a description of the pros and cons of various types of knife for the reader to consider.
I admit, I have too many knives. I find myself sometimes wondering, if I had to restart, what should I have brought and what should I have not brought.
Essentially, the question is what knives do I really need?
After decades of buying and using knives, and way more money spent that I want to think about, my answer to this question may have some value for the reader.
This article will be in two parts. The first part will concentrate on the knives that are primarily for home use.
The knives you use in the home are those that you are likely to get the most use from, in some cases using then daily. It makes sense to get your home selection in order before spending the price of a new car on a custom survival knife!8
Part two will cover outdoor and general purpose knives.
Home Utility Knives
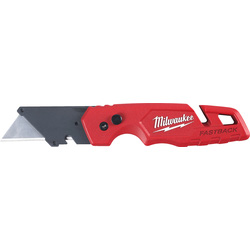
A Stanley knife is a useful addition to your home tool kit.
“Stanley” is actually a brand name, but in many parts of the world the term “Stanley knife” has become generic for certain designs of utility knife with a replaceable trapezoid-shaped blade.
Prices range from very reasonable to very high, which is odd, given that, as far as I am aware, they all use the same blades!
The short blade gives very good control, while reducing the chances of cutting too deep and damaging something it was not intended to cut. Some variants of blade have a rounded tip to further reduce the chance of damage or accidental injury.
A retractable blade may be handy for limiting cut depth or safety, while a fixed blade may be better for prolonged tasks such as carving.
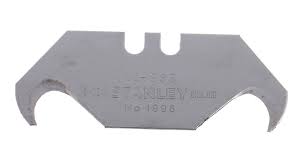
The type of blade most commonly encountered is a straight‑edged trapezoid-shape. A concave edged variant is favoured for some tasks.
Blunt blades may be replaced with new ones, although it is possible to resharpen dull blades.
Some handles have a small cut-out for wire stripping. The value of features such as strap-cutters will depend on the work environment you carry a Stanley knife in. Some handles can be fitted with purpose-designed metal‑ or wood‑saw blades.
I seldom use my Stanley knife. It is usually at the bottom of a tool box or back of the cupboard somewhere.
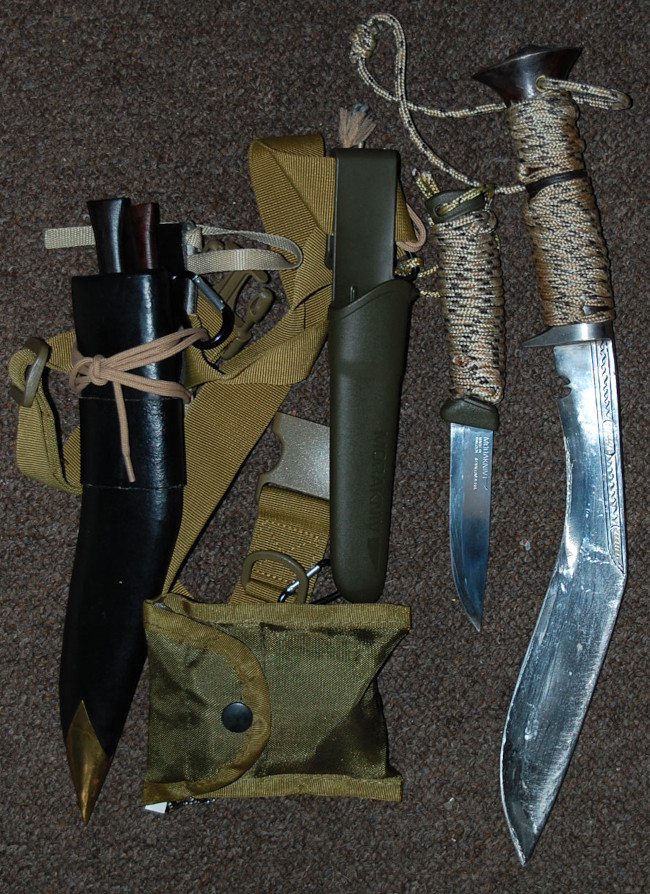
If I need a cutting edge, there is generally another knife more readily in reach. Of course, not everyone has a bookcase decorated with knives and a kukri by the bed!
This, incidentally, is a theme we will see again in this article: Knives for use in the home should be placed so they can be easily found and accessed when needed.
My Stanley knife now hangs‑up on the inside of the tool cupboard door, like my flashlight, spirit‑level and tape‑measure.
A smaller utility knife is useful for finer jobs.
If you are not familiar with them, I would recommend against using scalpels. Scalpel blades are designed to be removed from handles by snapping them in two. They have weakened fracture lines designed into them.
If you have a tendency to use more force than finesse, the scalpel blade may snap when you least expect it and this can cause injuries as you lose control of the tool.
For similar reason, I recommend a tool such as a Stanley knife for general use in preference to the box-cutters that use snap-off blades.
You should also be aware that different scalpel blades need different handles. The no.11 blades take a number 3 handle, while blades such as the no.22 need a number 4 handle.
Many scalpel blades are now manufactured with plastic handles already attached. These handles are designed to be disposable and are not very durable. They will snap if you use too much force.
The flattened end of a metal scalpel blade may be put to various uses. It may be used as a spatula to flatten hot plastic or the heated ends of paracord. They are also handy for levering open the lids of paint tins, although a slot screwdriver is probably a better option.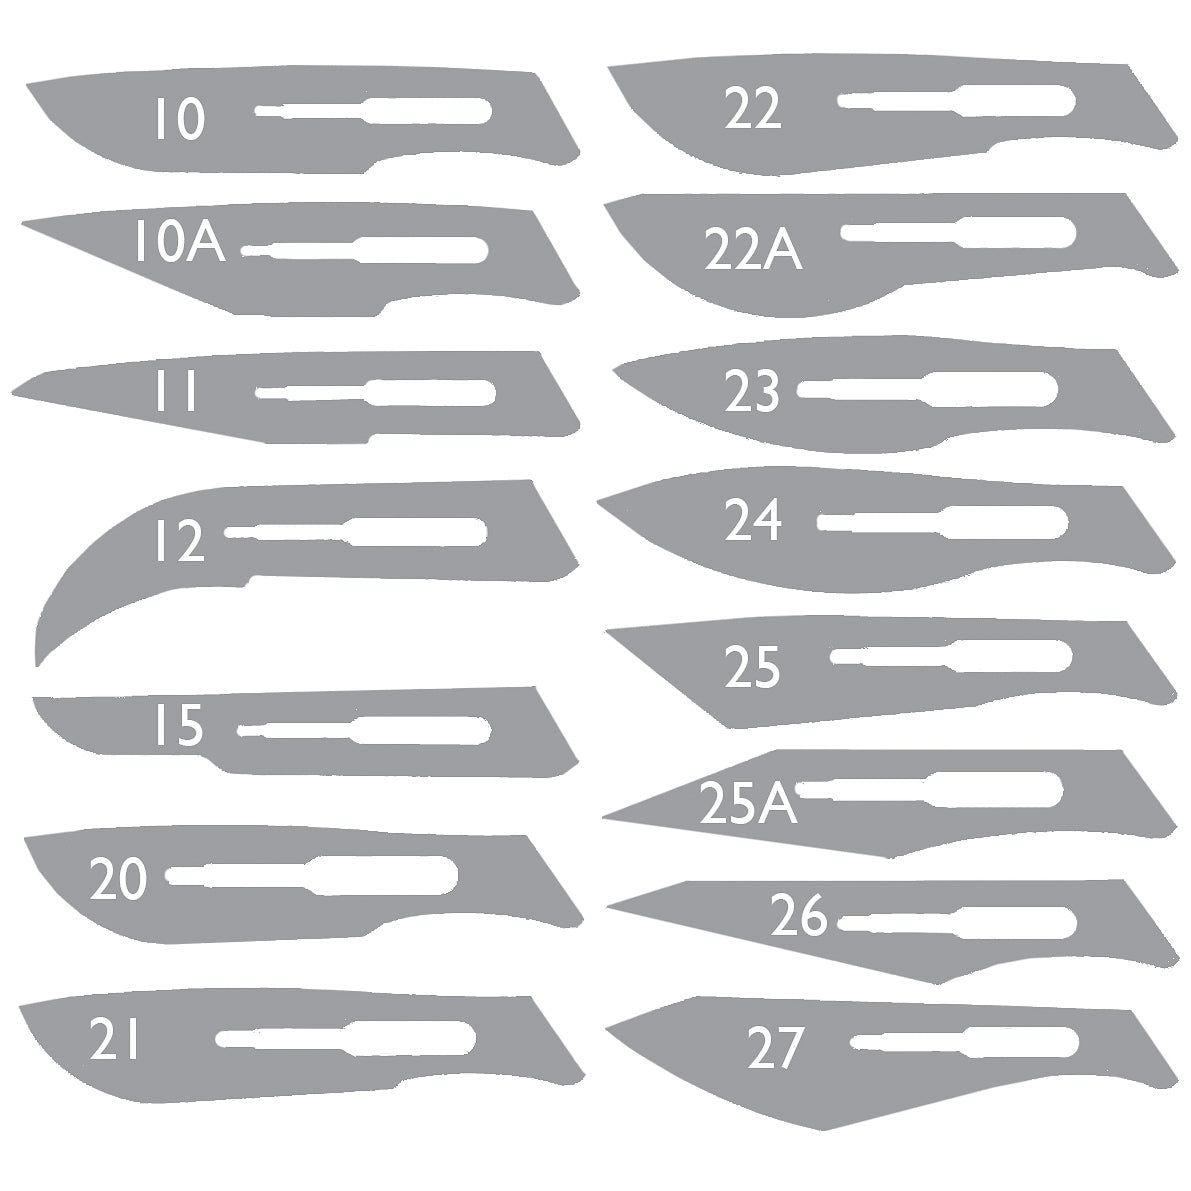
The no.11 scalpel blade is possibly the most useful for general usage. The hooked no.12 may be useful to jobs such as unpicking stitches. Curve-edged blades like the no.22 may be better for cutting some materials.
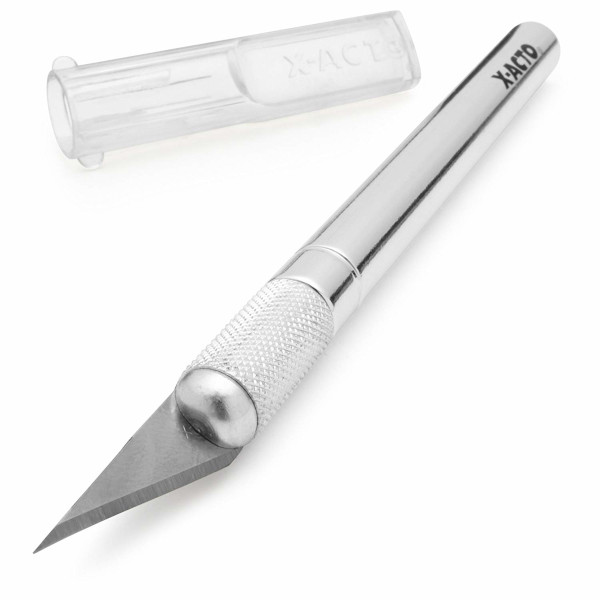
Rather than a scalpel, you may be better off using a small craft knife, such as an X-acto. These come with a range of blade shapes, although most are just variations of a straight‑edged triangular blade. The configurations resembling a chisel may have some applications. 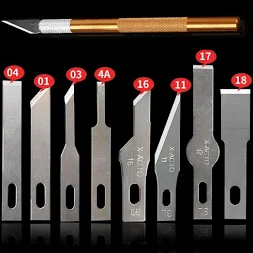
Most X-actos and their copies have a rod-shaped handle. This may roll out of reach on some surfaces. If you websearch on ideas to on “how to stop pencils rolling” you may find suitable solutions.
As an aside, I very rarely use a modelling knife when modelling. A set of needle-files and a pin-vise with small drill-bits is better for most jobs.
My more common problem with an X-acto is sometimes not being able to easily see if the blade is cutting-edge up or down. I sometimes use the knife under poor lighting conditions, such as the inside of a garment when cutting stitches.
Like Stanley blades, blades for smaller utility knives may be resharpened or touched‑up during extended use.
Adding some tape to the handle and positioning the tag in relation to the cutting edge may solve two potential problems at once!
Add a “stitch ripper” to your home sewing kit, but some jobs still need a very small pointed blade to get started.
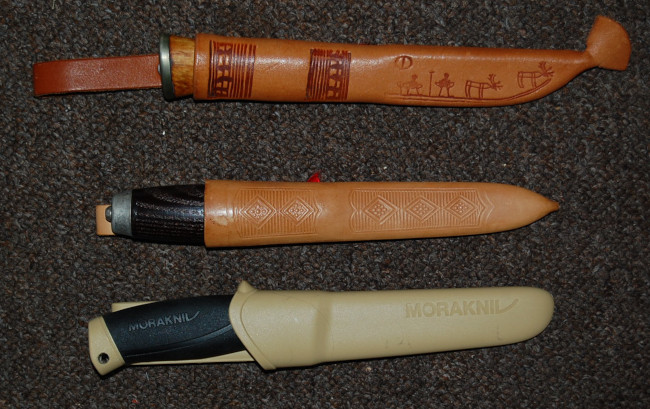
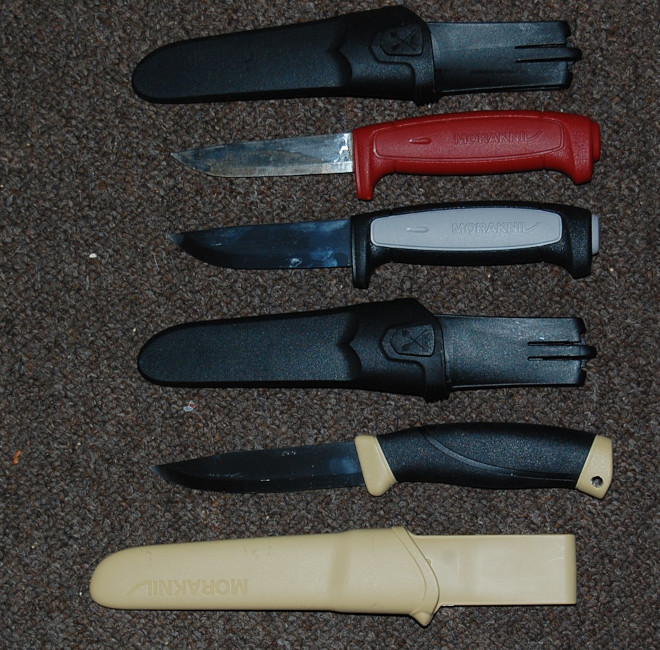
It is not the worst idea in the world to also have a general‑purpose Mora knife as a home utility blade too.
Kitchen Knives
I have written about kitchen knives before, so will refer you to those pages for more detail.
A professional chef visited me a few years ago. His first request was to see the Chinese cleaver I had told him about. 
Very cautiously, he placed his fingertip across the edge. A nod of approval and a knowing grin. As he had expected, it was very sharp.
Most of my cutting is done with my Chinese cleaver, also known as a vegetable cleaver and not to be confused with the heavyweight Western items. Mine has been in use for more than thirty years.
Between them, these two knives handle more than 90% of my cutting tasks in the kitchen.
If such a combination is a little too unconventional for you, and you are just starting out equipping your kitchen, I suggest buying one of the basic wooden blocks of knives sold by many stores.
I got my block of knives to stop my sister-in-law mucking up my cleaver. Since the block sits there on the counter, she was unlikely to look for my cleaver in a cupboard or drawer.
The countertop block is so handy I ended up using its knives a lot myself.
The block has six knives, including a chef's knife, carving knife and bread-knife.
The chef's knife can do many of the tasks I would have used the cleaver for.
The smaller knives are a straight-edged knife, a small serrated knife and a hook-bladed paring knife.
The small serrated knife is used for acidic fruit and veg, and supplements this use of the bread-knives.
The knife that sees the most frequent use is possibly the paring knife. The claw-like blade is very useful for opening packaging. Sitting in the knife block, it is readily to hand whenever it is needed.
What other knives you use in the kitchen depend on your cooking style. I have a very nice boning knife, but seldom use it since I generally don't debone meat.
My lady is a big seafood fan, so I expect I may have to buy a filleting knife or two soon.
A butcher's steel keeps most of my kitchen knives sharp. I also have a diamond stone and some ceramic sharpening rods in a cupboard in the kitchen, should they be needed.
Letter Openers
In one of the unnecessary Rambo sequels, Rambo enthuses to his daughter about the letter opener he is making for her.
“No one writes letters any more” she comments.
But most of us shop via the internet, which means most of us probably receive more parcels than we might have in previous decades.
Such parcels are much harder to open than a simple envelope. I often find myself reaching for a knife or other sharp edge to open my mail.
Food packaging these days also seems to be harder to get into than in the past. If anything, I am stronger now than I used to be. Exerting enough strength to pull a packet open often results in the contents fountaining all over the room. Again, I find it easier to have a sharp edge within reach.
“Traditional” designs of letter‑opener are designed to open envelopes and may be blunt‑edged tools made from plastic, ivory, brass, pewter or wood. Parcel tape and other modern packagings my require something more capable.
Many of the knives described elsewhere in this series of articles are up to this task. The paring knife is often used for parcels that get opened in the kitchen.
For a blade you will probably have in sight in your living space or office area, you may desire something more decorative and less aggressive‑or utilitarian‑looking than the blades with your camping gear or toolbox.
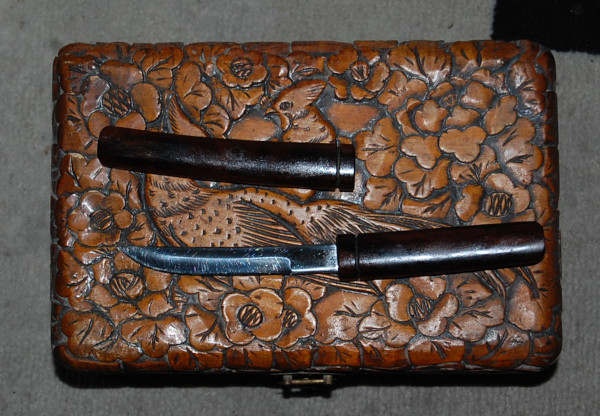
My current “parcel opener” is a miniature tanto/aikuchi with shirasaya‑type sheath and grip, but in a dark wood. Edge is sharp enough to deal with modern packaging, and the point acute enough to get beneath envelope flaps.
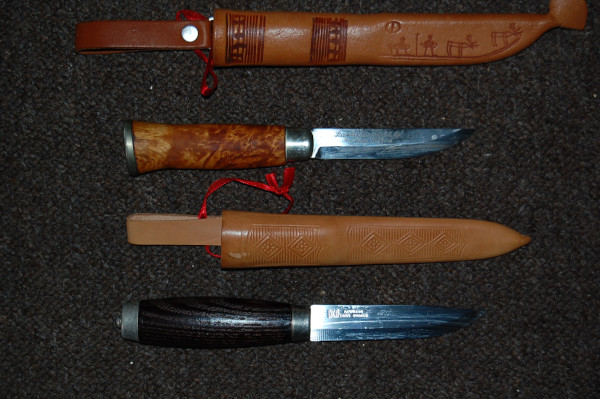
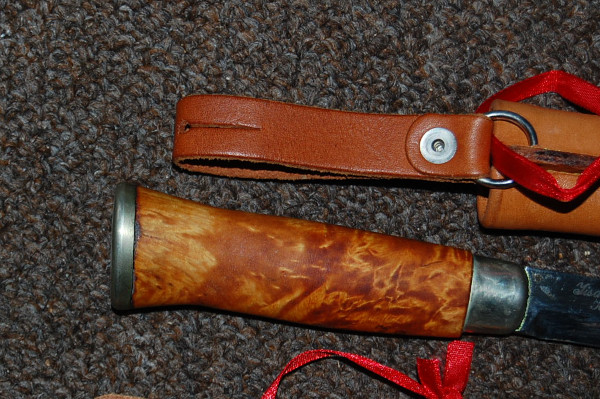
If I did not have the aikuchi, I might use a sufficiently attractive puukkot instead. Various other designs of fixed blade or folding knife are possible alternatives. Some “neck knives” have hooked blades.
I would recommend a stainless steel blade for a parcel opener.
Such a knife is of no use unless it is readily within reach. Mine does not look out of place sitting on the carved wooden box I brought in Hong Kong. This box is on a table beside where I usually sit.
Home Penknives and Multi-tools
I will talk about penknives for everyday carry (EDC) in part two.
It is worth having an extra penknife or two at home, and readily to hand.
I have a couple hanging on a hook inside the kitchen drawer.
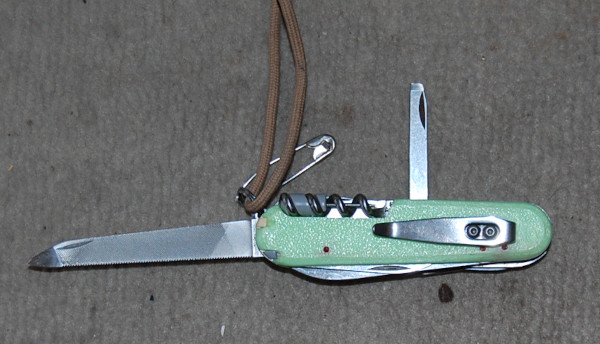
The larger of these penknives is an eleven-bladed model that is too bulky and heavy to carry on my person. This includes a set of pliers and various screwdrivers, which have proved handy tightening up the handles of various cooking pots. The reamer has also proven useful for various jobs, including fitting the screw-hooks inside the drawer the penknives hang from.
These particular penknives were donated by the lost property box. 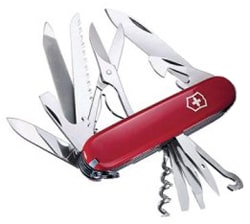
It is quite possible that you have penknives or other multi-tools that you have purchased or have been given that you have decided are no longer your first choice as EDC or field tools.
Some such items may be repurposed as home tools. The trick is to keep them somewhere that they may easily be located when needed. Mine are in the kitchen drawer. Hanging them inside the door of your tool cabinet is a good option too.
Gimlet
The gimlet is not by any stretch of the imagination a knife. I have included it in this discussion since its use compliments that of the reamer on a penknife. Also, it is a tool that is often overlooked and I suspect there are many tool boxes out there that do not include this very useful implement.
Many home-improvement jobs involve the instillation of screws, nails or hooks. Such tasks are often easier, more accurate and neater if a pilot hole is created first. The reamer on your penknife is a good way to start such a pilot hole, and in some instances may be all that you need.
When this is not the case, a screw gimlet comes in very handy.
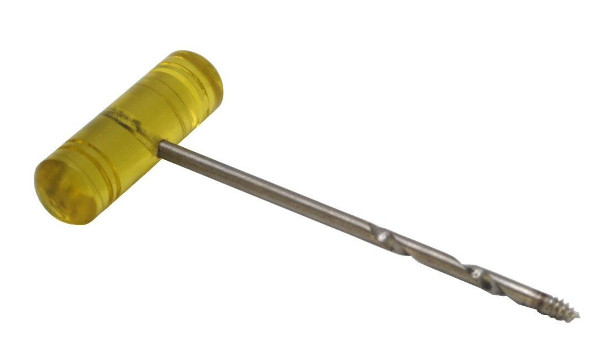
A typical screw gimlet resembles a corkscrew, with a handle set at a right angle to the shank.
The shank of mine begins in a screw thread and becomes a spiral cutting groove like a drill bit.
Mine has a shank diameter of 4.5 mm, which has proved to be a good size for general use at home.
My gimlet recently proved to be the ideal tool for cutting a lanyard hole in the handle of a Mora knife.
It is probably prudent to keep a gimlet with your DIY drill(s). Most jobs you may need the drill for may be started with a gimlet. Often you may find the gimlet was all that was actually needed.
Another useful feature of a screw gimlet is that it can be used in locations where there is insufficient space or awkward to use a power drill or hand drill.
Gimlets are very reasonably priced. Old gimlets are sometimes sold mislabelled as “corkscrews”!
Looking on-line, there are gimlet sets of several sizes that often include an awl and/or bradawl.
My original gimlet has proved so useful I invested in a set of gimlets, going down as small as 2 mm. All my gimlets live in a small ice cream tub, so are easy to find. An awl and bradawl are stored with them.
Some holes are better made using a small gimlet and then enlarging the hole with one or more bigger gimlets.
If you drill close to the edge of a piece of wood there is a chance of splitting the grain. In such a situation, start the hole for your gimlet using an awl, reamer and/or bradawl. Create a hole large enough to accommodate the screw-threaded section of the gimlet.
Unlike my power drill, a gimlet never needs recharging whenever I need it! Thinking back, I suspect many of the jobs in the past I used a drill for might have been done easier and more quickly with the gimlet!
Gimlets are also a relatively safe tool compared to many of the alternatives. If you are introducing your child to carpentry or similar crafts, I would suggest thoroughly familiarising them with the gimlet before they start using potentially more dangerous tools such as drills.
Sometimes, when out in the wilds, there is a need to bore a neat hole or two in wood, bone or hide. The reamer on your penknife is often up to the job. You may need a deeper, more regular hole. In “Survival Weapons” I describe a more capable tool I call a “brog”.
A gimlet is a possible alternative, and takes up very little room in your pack. Cover the point with a length of tube, section of stick or a cork.
Stay Sharp
I have had to work with a lot of stupid people. Reflexively, I cautioned my girlfriend: “Careful, that is sharp!”
She gave me an eloquent stare that both said “I am NOT an idiot!”, but also “Of course it is sharp! You will have sharpened it!”
Blunt knives are dangerous. They encourage the user to apply more force than is needed and increase the chances of mistakes or injuries.
You should have items for resharpening you knives and other tools in your home. These should be easily accessible from where you might need them, to encourage you to use them when necessary.
As already noted, I keep some sharpening items in my kitchen. Others are in or with a flannel bag in my tool cupboard. There are also items with my outdoor gear. On my person I carry a small diamond impregnated sharpening card. An old brass key on my keyring may be used to “steel” an edge for a quick touch up.
For home use, a set of ceramic rods that fit into a base are very good. I have a set in the tool cabinet and a more basic set in a kitchen cupboard. A set of rods like helped me learn sharpening.
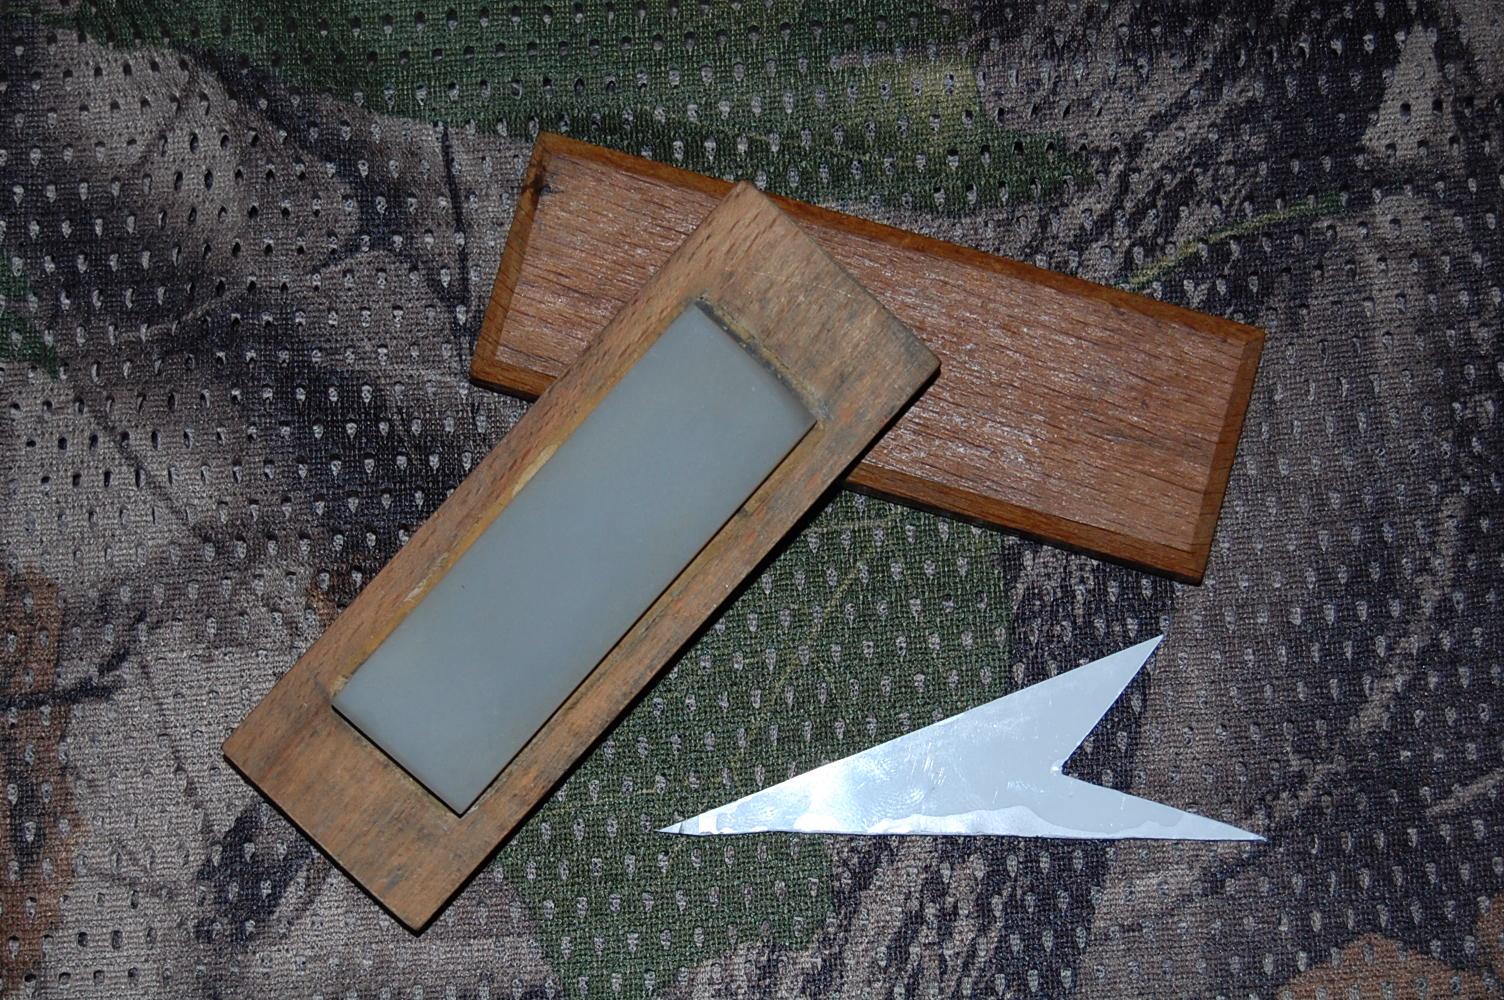
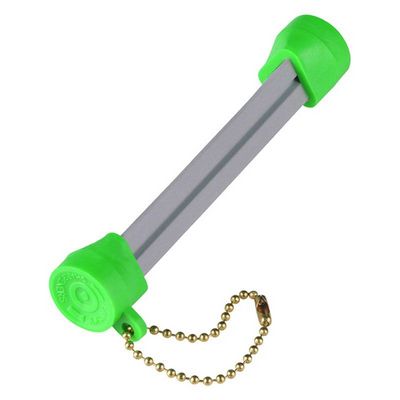
Since I am a “pull‑sharpener” by preference, I like to have a small stone or triangular rod I can easily hold in my hand and move across an edge. For the latter, I generally either use a small fine Arkansas stone I inherited, or a triangular Lansky rod with plastic ends.
There are many alternate options. Most suitably sized triangular sharpening rods will be suitable providing they are not too course.
The trick to avoid sharpening becoming a tedious chore is to never let an edge get really dull. Sharpen lightly and often, as needed.
While tools should be sharp and accessible, they must also be stored responsibly so they cannot cause injury to family, other residents or visitors.
